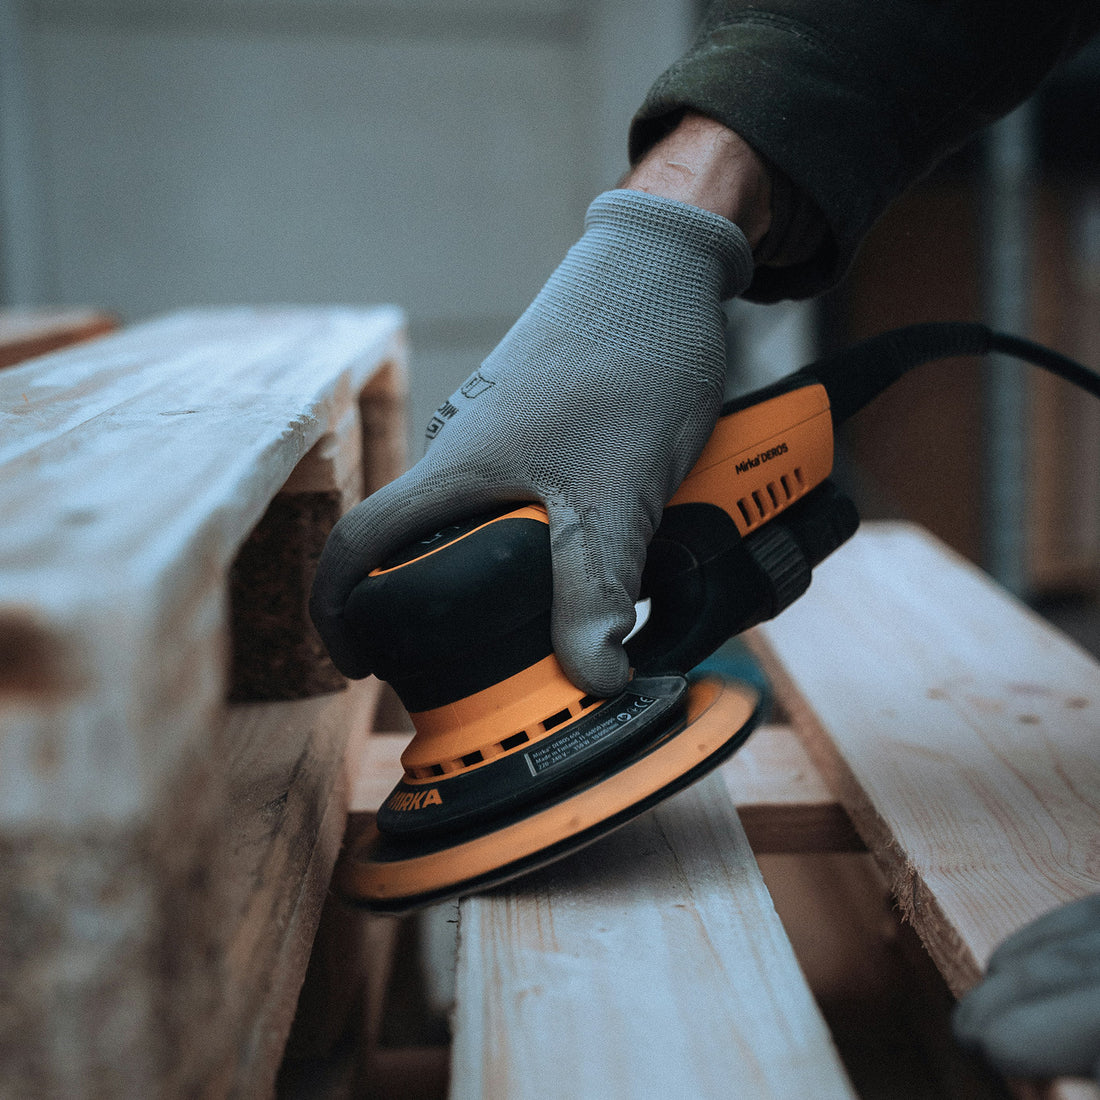
When using an angle grinder, cutting wheels become worn or damaged over time, requiring periodic replacement. Correct and safe removal and replacement of cutting wheels not only improves work efficiency, but also ensures user safety. Below are the steps and recommendations for safely and effectively removing a cutting wheel.
1. Preparations
Before you begin, make sure you have the following tools and equipment:
- Angle grinder
- Pin Wrench
- Tweezers
- Protective gloves and safety glasses
Before proceeding, unplug the angle grinder to prevent it from accidentally starting. This is the first step to ensure safety.
2. Using the Pin Wrench to Remove the Cutting Wheel
Steps:
- Press and hold the lock button : Locate the lock button on the angle grinder and hold it down. This button is usually located on the top or side of the grinder and prevents the wheel from spinning.
- Insert the pin wrench : Insert the pin wrench into the two holes near the cutting wheel. These holes are usually located on the lock nut.
- Loosen the lock nut : Turn the pin wrench counterclockwise to loosen the lock nut. This process may require some force, so make sure the wrench is fully inserted into the holes.
- Remove the cutting wheel : Turn the locking nut by hand until it is completely removed, then remove the old cutting wheel.
3. Using Alternative Tools to Remove the Cutting Wheel
If you don't have a pin wrench, you can try the following methods:
- Two wrenches : Use one wrench to secure the axle and another wrench to turn the locking nut. This method requires some skill, as you must operate both wrenches at the same time.
- Screwdriver and hammer : Insert a screwdriver into one of the holes in the locking nut and gently tap the screwdriver handle with a hammer to loosen the nut. This method should be done carefully to avoid damaging the nut or the grinder.
4. Installing a New Cutting Wheel
Steps:
- Attach the new cutting wheel : Place the new cutting wheel on the grinder, making sure it is facing the correct direction. The cutting wheel usually has an arrow indicating the correct direction of rotation.
- Tighten the lock nut : Turn the lock nut by hand and then use tools to secure it. Be sure not to overtighten to avoid damaging the cutting wheel or thread.
-
Check stability : Gently move the cutting wheel to ensure it is securely installed. If there is any movement, retighten the locking nut.

5. Safety Precautions
To ensure your safety, please follow these precautions:
- Wear protective equipment : Include safety glasses and protective gloves to avoid injury from sharp cutting wheel edges and fragments.
- Inspect the cutting wheel : Make sure the cutting wheel is not cracked or damaged. If you find any problems, replace it immediately.
- Secure the guard : The grinder guard must be properly installed, covering the top and side of the cutting wheel to provide maximum protection.
Recommended Models and Parameters
Choosing the right cutting wheel is crucial for work performance. Below are some recommended cutting wheel models:
- Weiler Tiger Zirc : Suitable for stainless steel and high-strength alloys, with long life and excellent cutting performance. Thickness of 0.04 inches, maximum speed of 13,300 RPM.
- Benchmark Abrasives Ultra Thin : Suitable for metals and stainless steel, it offers precise and fast cuts. Thickness of 0.03 inches, maximum speed of 15,000 RPM.
- Norton BlueFire : Economical and suitable for various metal cutting applications. Thickness of 0.05 inches, maximum speed of 12,200 RPM.
Comparative Data Table
Below is a comparison table of different models of cutting wheels :
| Model | Suitable Materials | Thickness (in) | Maximum speed (RPM) | Shelf Life |
|---|---|---|---|---|
| Weiler Tiger Zircon | Stainless steel, high strength alloys | 0.04 | 13,300 | Long |
| Ultra Thin Benchmark | Metals, stainless steel | 0.03 | 15,000 | Average |
| Norton BlueFire | Various metals | 0.05 | 12,200 | Short |
By following these steps and recommendations, you will be able to remove and replace the cutting wheel safely and efficiently. Choosing the right tools and methods not only improves work efficiency, but also ensures safety during the process. We hope that this information is useful to you and makes changing cutting wheels easier. If you have any questions or need additional help, do not hesitate to consult a professional or review the manufacturer's guides.

