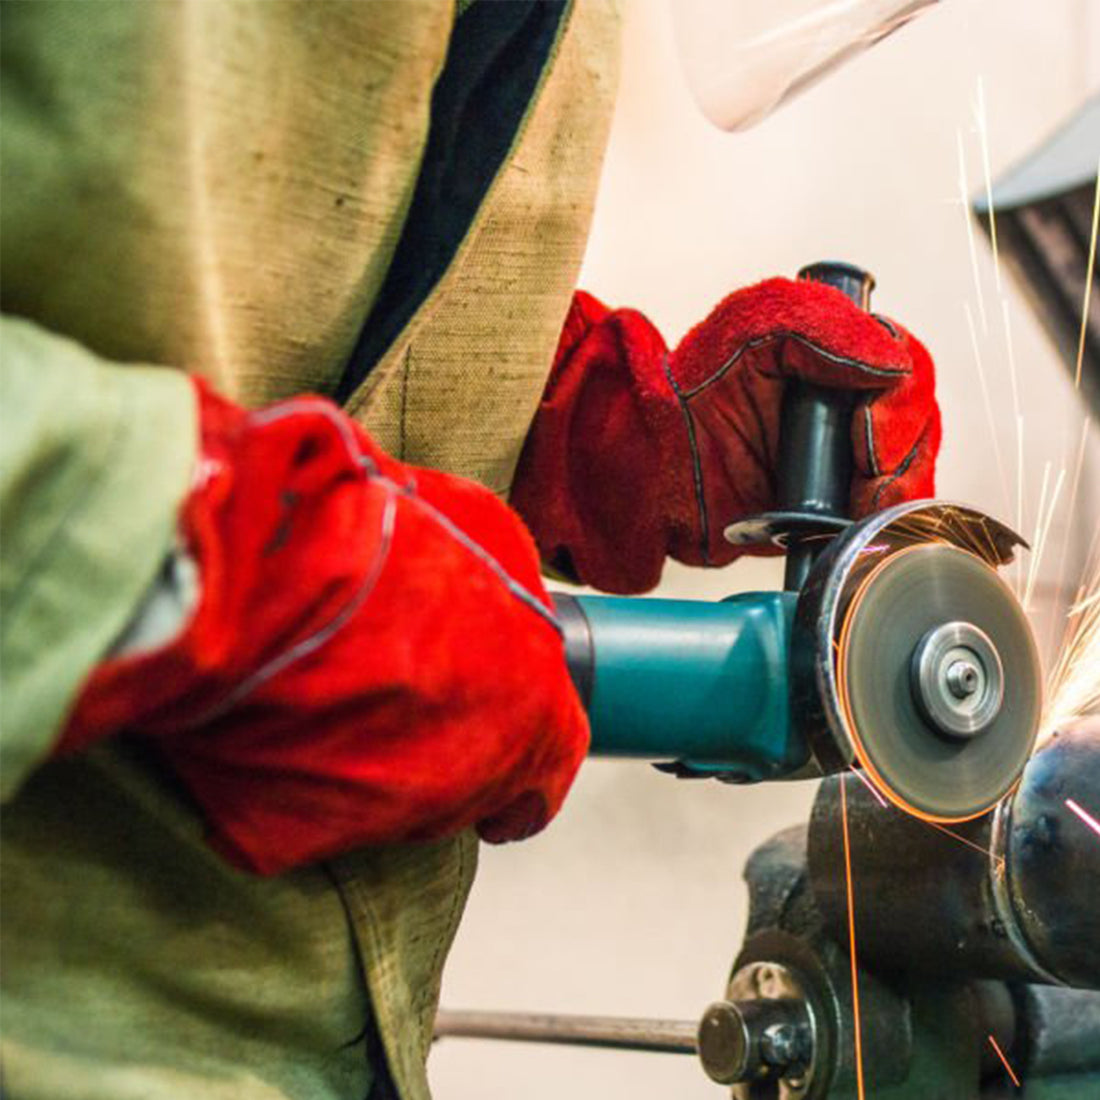
Grinding wheels are essential tools in various metal and woodworking applications. Proper installation and use of these wheels ensures efficiency and safety. This guide will walk you through the steps of installing grinding wheels, highlight key considerations, and recommend some reliable models and parameters.
Understanding Grinding Discs
Grinding discs, also known as abrasive wheels, are used with angle grinders, bench grinders, and other types of grinders. They come in various materials, grits, and sizes, each designed for specific tasks. Grinding discs are composed of abrasive materials that, when rotated at high speed, can cut, grind, and polish surfaces of different materials.
Types of Grinding Discs
- Bonded Abrasive Discs : Made of abrasive grains bonded together by bonding materials. They are common in cutting and grinding applications on metal and stone.
- Coated Abrasive Discs : Abrasive grains bonded to a backing material such as paper or cloth. They are ideal for sanding and finishing tasks.
- Diamond Discs : Embedded with diamond particles, ideal for cutting hard materials such as concrete, ceramic and glass.

Steps to Install Grinding Discs on an Angle Grinder
Safety First :
Always wear appropriate personal protective equipment (PPE), including gloves, eyewear, and hearing protection. Safety is critical to preventing accidents and injuries.
Disconnect Power :
Make sure the grinder is unplugged or the battery is removed. Working with the tool unplugged is crucial to avoid accidental starting.
Inspect the Disc and Grinder :
Check the disc for cracks or damage. Make sure the grinder guard is in place and working. A damaged disc can break during use, which can cause serious injury.
Remove the Old Disk :
Use the wrench that came with the grinder to loosen the flange nut. If the disc is stuck, use a rubber mallet to gently tap it.
Install New Disk :
- Place the new disc onto the spindle, making sure it aligns with the center hole.
- Hand tighten the flange nut and then use the wrench to secure it. Be careful not to overtighten to avoid damage to the grinder disc or spindle.
Test the Installation :
Rotate the disc by hand to ensure it moves freely without wobbling. An improperly installed disc can vibrate excessively, reducing accuracy and safety.
Reconnect Power :
Plug in the grinder or reinsert the battery.
Perform a Function Test :
Run the grinder at full speed for a few seconds to ensure the disc is properly installed and there is no vibration.
Steps to Install Grinding Discs on a Bench Grinder
Safety Precautions :
Wear PPE, including eye protection and gloves. Eye protection is especially important to prevent injuries from flying particles.
Turn Off and Unplug :
Make sure the bench grinder is unplugged. Working with the tool unplugged ensures that it does not accidentally turn on.
Remove the Wheel Covers :
Use a wrench to remove the wheel covers on each side of the grinder. The covers protect the user from debris and dust generated during grinding.
Loosen the Retaining Nuts :
Using a wrench, loosen and remove the retaining nuts holding the old wheel in place. It is important to ensure that the nuts are not over-tightened to facilitate removal.
Remove the Old Wheel :
Carefully remove the old wheel from the axle. Avoid hitting or forcing the wheel to prevent damage to the axle.
Inspect the New Wheel:
Check for damage or cracks before installing. A damaged wheel may break during use, causing injury.
Mount the New Wheel:
- Slide the new wheel onto the axle, making sure it is centered.
- Replace the retaining nuts and hand tighten.
- Use the wrench to secure the nuts, making sure not to overtighten to avoid damaging the wheel or axle.
Replace the Wheel Covers :
Reattach the wheel covers in place.
Perform a Function Test :
Plug in the grinder and run it at full speed to verify proper installation and balance.Important Considerations
- Disc Size : Make sure the disc size matches the grinder's specifications. Common sizes are 4.5 inches, 5 inches, and 7 inches. Using the wrong size disc can cause inefficiency and safety hazards.
- Disc Type : Choose the right type of disc for the material you are working on. For metal, use bonded abrasive discs; for stone or tile, diamond discs are more suitable. Using the right disc improves efficiency and extends disc life.
- RPM Rating : The RPM rating of the disc must match or exceed the speed of the grinder to prevent accidents. Using a disc with an RPM rating lower than the speed of the tool may result in breakage of the disc.

Recommended Models and Parameters
DeWalt DW4514:
- Size : 4.5 inches
- Type : Bonded Abrasive
- Grain : 24
- Max RPM : 13,300
Makita B-12650 :
- Size : 5 inches
- Type : Coated Abrasive
- Grain : 36
- Max RPM : 12,250
Bosch DB741C :
- Size : 7 inches
- Type : Diamond blade
- Max RPM : 8,600
Data Comparison Table
| Model | Size (inches) | Guy | Grain | Max RPM |
|---|---|---|---|---|
| DeWalt DW4514 | 4.5 | Bonded Abrasive | 24 | 13,300 |
| Makita B-12650 | 5 | Coated Abrasive | 36 | 12,250 |
| Bosch DB741C | 7 | Diamond disc | N/A | 8,600 |
Conclusion
Properly installing grinding discs is crucial for both performance and safety. By following the steps outlined above, you can ensure that your grinding discs are mounted securely and correctly, allowing for efficient and safe grinding operations. Always refer to the manufacturer's instructions for specific details related to your equipment and discs. Proper installation not only improves work efficiency, but also extends the life of the tool and disc, and ensures a safer working environment.

